Water damage on a gypsum ceiling is one of those problems that looks small at first—maybe a faint yellow ring, a slightly soft spot, or a corner that starts to bubble—until the damage spreads and the ceiling begins to sag or crack. In our experience working with building and renovation projects, the biggest mistake people make is repairing the surface before addressing the cause. If the leak is still active, or if moisture is trapped above the ceiling, the best patch in the world will fail again. The second mistake is underestimating how water changes gypsum: once it loses structural integrity, it may crumble, swell, and refuse to hold joint compound the way a dry ceiling would.
This guide is written like a professional job plan. We’ll walk you through how to inspect, cut, dry, patch, reinforce, finish, and repaint a water-damaged gypsum ceiling—so the repair lasts and blends cleanly. We’ll also share decision points: when a patch is enough, when you should replace a larger section, and how to avoid repeated staining or cracking.
Understanding Water Damage on a Gypsum Ceiling
A gypsum ceiling is typically made from gypsum boards (drywall/plasterboard) installed on framing. Gypsum is stable when dry, but water can cause:
Staining from minerals and contaminants
Paper face delamination (the outer layer peels or bubbles)
Swelling and softness (loss of strength)
Mold risk when moisture remains trapped
Sagging if framing and fasteners are stressed
Patch vs Replace Decision Guide
Condition you see | What it usually means | Recommended action |
Light stain, surface is hard | Past leak, board likely intact | Stain-block + skim coat |
Bubbling paint or peeling paper | Moisture damaged paper face | Remove loose paper + patch |
Soft, crumbly gypsum | Board integrity compromised | Cut out and replace section |
Sagging ceiling area | Structural weakening or wet insulation | Replace larger area + check framing |
Musty smell/mold spots | Ongoing moisture or trapped humidity | Fix source + dry + treat/replace |
If you can push a finger into the ceiling and it feels spongy, replacement is usually the safer professional choice.
Step 1: Fix the Source of Water First
Before you touch the ceiling, stop the water.
Common sources:
Pro tip: Don’t trust “it stopped raining so it’s fine.” A slow leak can continue invisibly and ruin your repair.
Step 2: Safety Setup Before You Open the Ceiling
Working overhead creates mess and risk. Prepare properly:
Turn off power to any nearby ceiling lights if water was present
Cover floors and furniture with plastic sheeting
Wear safety glasses, gloves, and a dust mask
Set a stable ladder and good lighting
Have a trash bag ready for wet debris
If you suspect mold (dark specks, fuzzy growth, strong odor), treat the area cautiously and consider professional assessment if the affected area is large.
Step 3: Assess Moisture and Dry the Area Completely
A repair will not last if the area is still damp. Drying is a real step, not a “wait a bit.”
Drying methods:
How to check dryness without special tools:
touch test (should feel room-temperature and firm, not cool and damp)
paper test (tape paper to the area; moisture shows as curling or darkening)
time and airflow (often 24–72 hours depending on conditions)
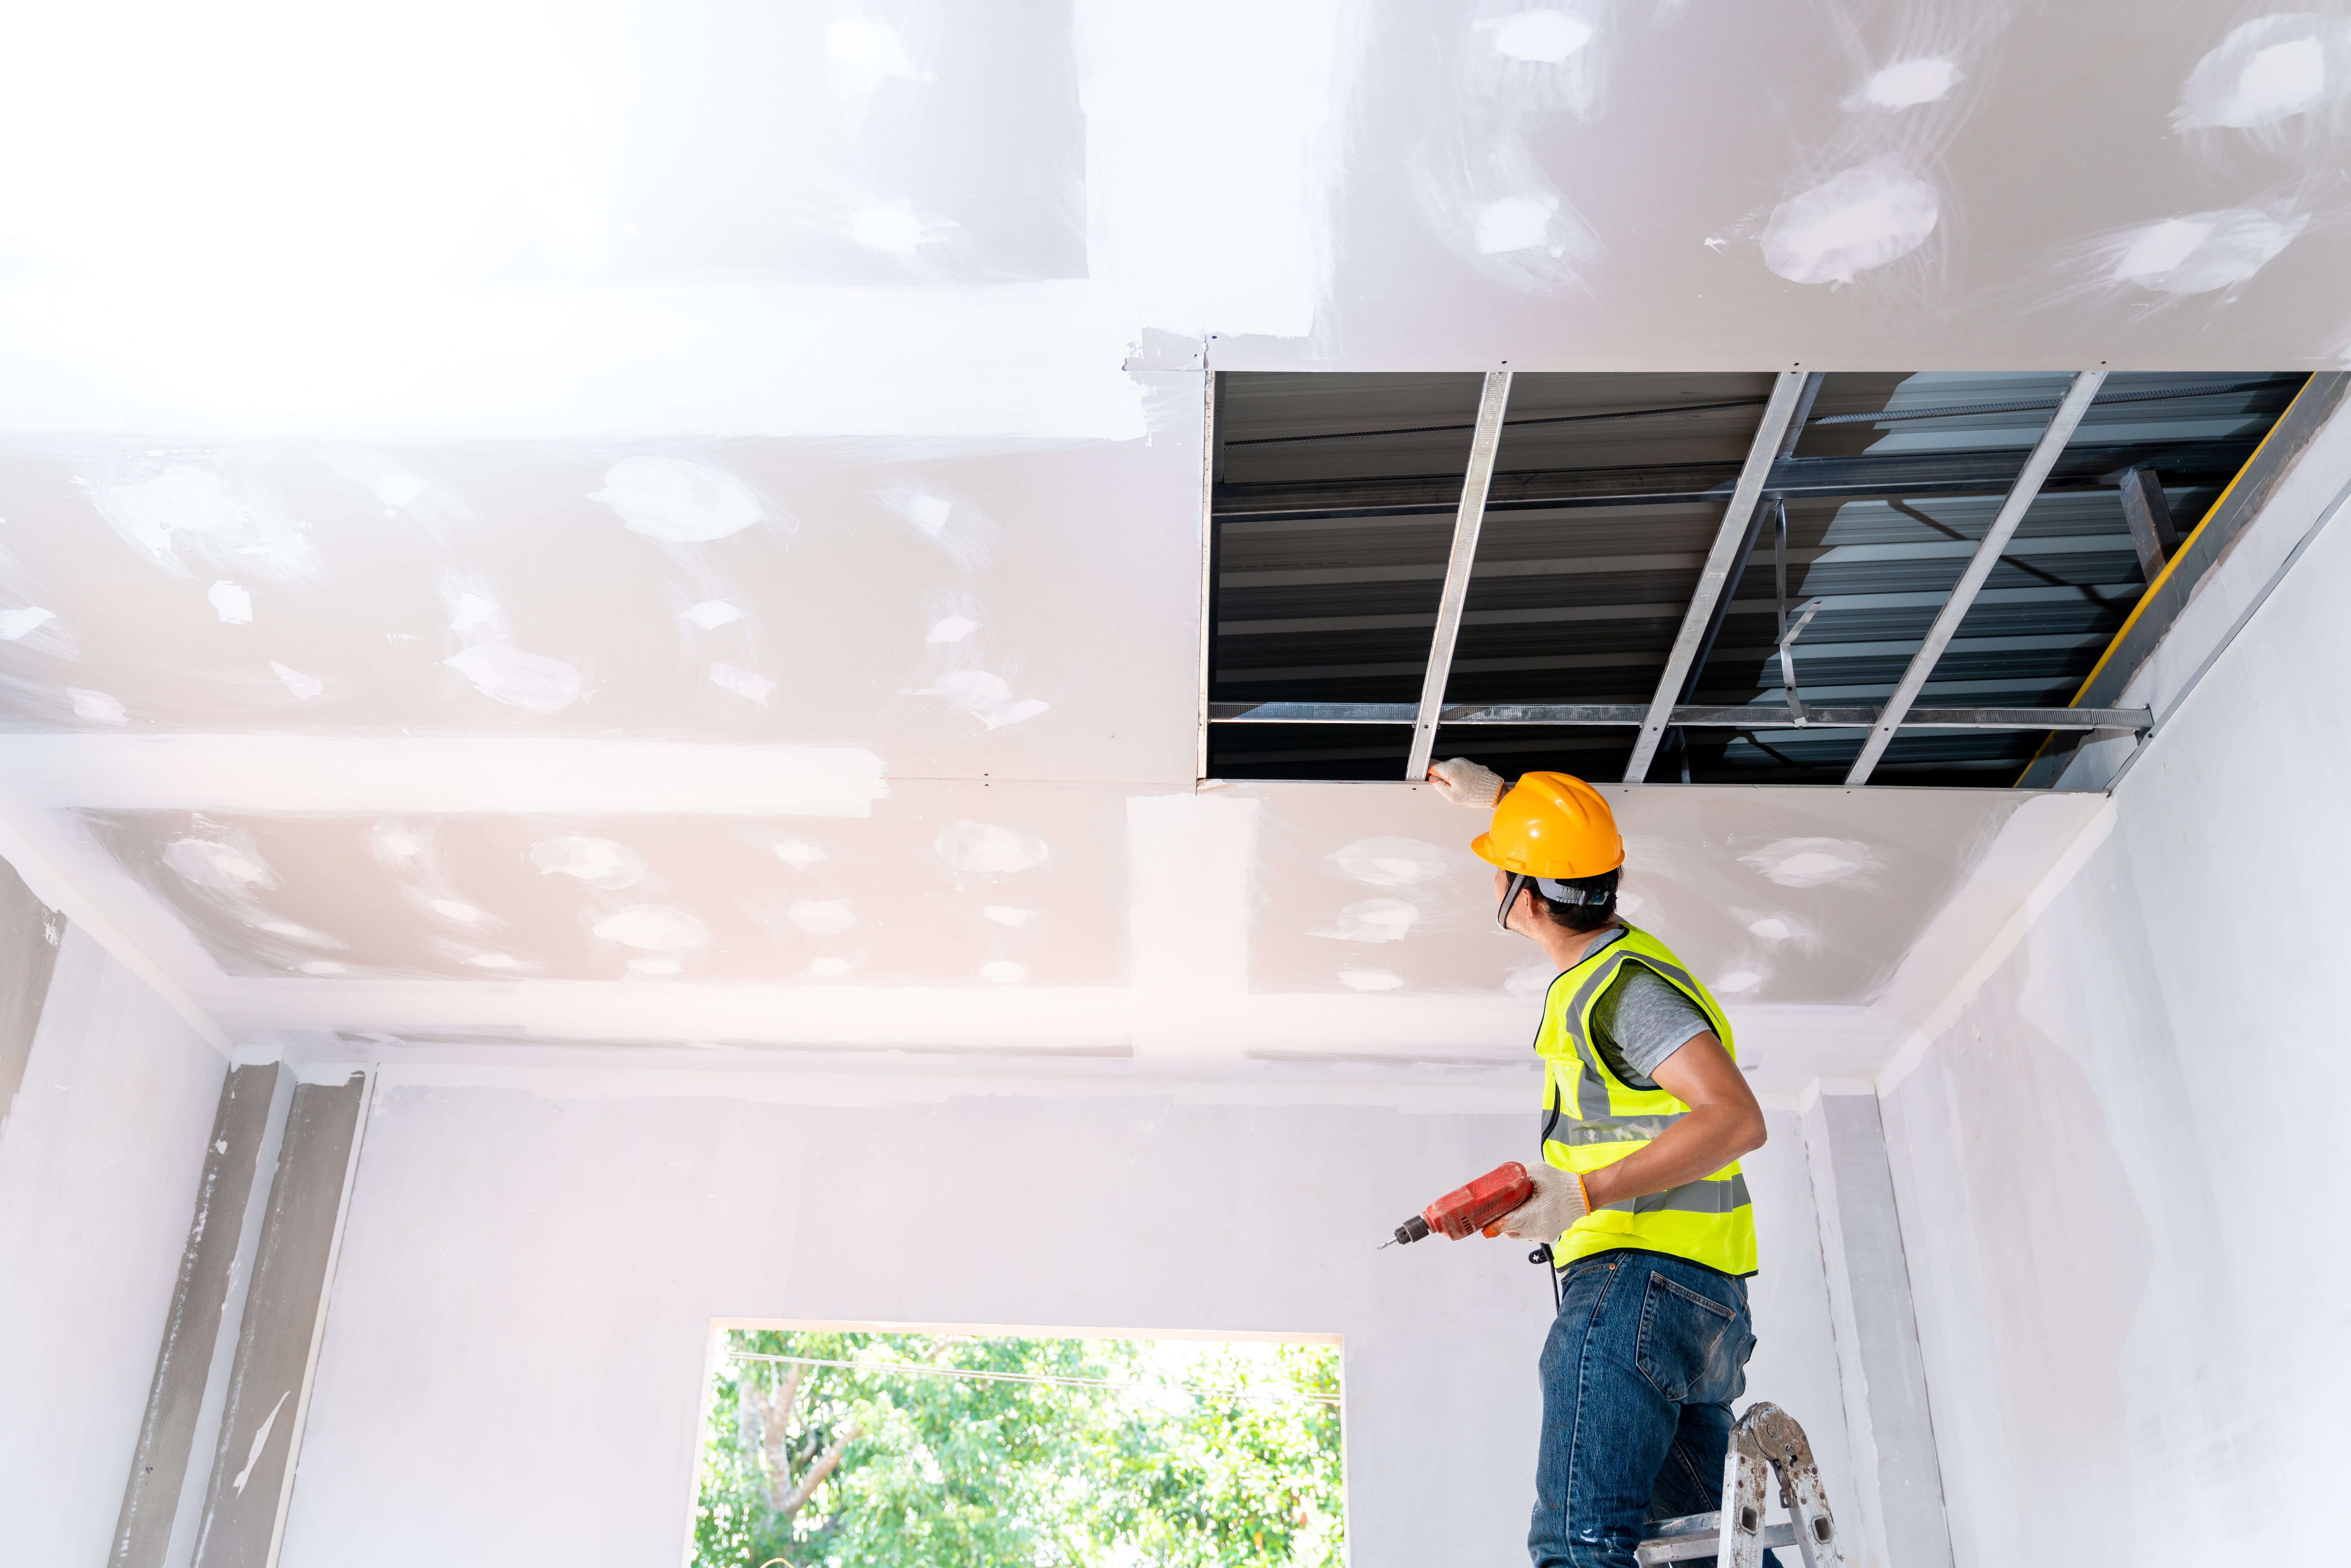
Step 4: Mark and Cut Out Damaged Gypsum (When Replacement Is Needed)
If the gypsum is soft, swollen, or sagging, cut it out.
How to mark the cut
Mark a rectangle or square around the damage
Try to align edges to framing members if possible
Keep the cut clean—straight cuts are easier to patch invisibly
Cutting tools
Pro note: Cut back to solid, dry gypsum. Leaving weak edges is a common reason patches crack later.
Step 5: Inspect What’s Above the Ceiling
This is where professionals often find the real story.
Check for:
wet insulation (replace if soaked)
stained framing (dry it thoroughly)
rusted fasteners or metal channels
mold on the back of boards
If insulation is saturated, it can hold moisture for days and keep re-wetting your gypsum ceiling repair from above.
Step 6: Install Backing Support for a Strong Patch
A patch needs support, especially on ceilings.
Option A: Patch anchored to framing
Best case: your cut edges land on joists or furring channels. You can screw the patch directly to them.
Option B: Add wood backers (common method)
Cut wood strips (about 25–40 cm longer than the hole width)
Slide them into the hole and screw them through the existing gypsum
Create a “bridge” behind the opening
Now the patch piece can screw into these backers
This method makes small and medium ceiling patches much stronger and prevents future cracks.
Step 7: Fit and Fasten the Replacement Gypsum Board
Cut a patch piece to match the opening.
Professional tips for a perfect fit:
aim for tight edges without forcing
keep a small uniform gap (1–2 mm) rather than uneven gaps
use the correct screws and avoid over-driving (which breaks the paper face)
If your ceiling uses moisture-resistant gypsum board in certain zones, match the same type for the patch.
Step 8: Tape, Mud, and Build a Smooth Finish
Ceiling repairs fail visually when finishing is rushed. Smooth blending matters.
Materials you’ll need
drywall joint tape (paper or fiberglass mesh)
joint compound (setting-type is great for first coats)
drywall knives (10–15 cm + 25–30 cm)
Three-coat finishing workflow
Bed coat: apply compound and embed tape
Fill coat: widen the area, cover tape edges
Finish coat: feather out wider for invisible transition
Feathering rule: Each coat should extend wider than the last to hide the patch edge.
Step 9: Sanding and Surface Prep for Paint
Once fully dry:
sand lightly with fine grit (120–180)
use a bright light at an angle to reveal ridges
remove dust before priming
Avoid over-sanding—it can expose tape and create fuzz on the gypsum paper.
Step 10: Prime the Area to Block Stains
Water stains can bleed through paint—even after patching.
Use:
a stain-blocking primer on stained areas
a drywall primer over new compound
then repaint for a uniform finish
If you skip primer, you may see the old stain reappear weeks later.
Step 11: Match Ceiling Texture (If You Have One)
Many gypsum ceilings have texture (orange peel, knockdown, or a subtle roller texture). Matching it is what makes the repair truly professional.
Options:
texture spray (test on cardboard first)
roller technique matching
skim coat and sand for smooth ceilings
If you’re unsure, it’s often better to keep the texture slightly lighter than heavier—heavy texture is harder to blend.
Common Mistakes That Make Gypsum Ceiling Repairs Fail
Mistake | What happens later | Better approach |
Repairing before leak is fixed | stain returns, patch softens | fix source first |
Leaving damp gypsum in place | mold risk, bubbling paint | cut back to dry material |
No backing support | cracks, sagging patch | add backers or hit framing |
Not using tape | seam cracks | tape all seams |
Skipping stain-block primer | stains bleed through | prime before painting |
Final Thoughts
A water-damaged gypsum ceiling can be repaired to look like new—but only if you treat it like a system problem, not a surface problem. Fix the leak, dry the cavity, cut back to solid gypsum, build strong backing support, then finish patiently with proper tape, compound layers, sanding, and stain-blocking primer. When those steps are followed, the repair is not only cosmetic—it restores integrity and helps prevent repeat damage from hidden moisture and weak edges.
At Guangzhou Panda Commercial Development Co., Ltd., we support building and interior projects with gypsum ceiling solutions designed for consistent quality and practical installation. If you’re planning repairs, renovations, or new gypsum ceiling installations and want to confirm the right materials and application approach for your project, you are welcome to reach out to us to learn more and discuss your requirements.
FAQ
1) Can I paint over a water stain on a gypsum ceiling without patching?
If the gypsum is still hard and not damaged, you can often prime with a stain-blocking primer and repaint. If the surface is soft, bubbling, or peeling, patching or replacement is recommended.
2) How do I know if water-damaged gypsum ceiling board must be replaced?
If the board is soft, swollen, crumbly, sagging, or the paper face is separating, replacement is usually the most reliable solution.
3) What primer should I use after repairing a water-damaged gypsum ceiling?
Use a stain-blocking primer on any water-stained areas, then apply drywall primer over repaired compound before painting for an even finish.
4) How long should I dry a gypsum ceiling before repairing it?
Drying time depends on humidity and airflow, but many repairs require 24–72 hours. The area should feel firm and dry, not cool or damp, before patching.


